Showing posts with label ink. Show all posts

Wednesday, October 25, 2017

"Relax & Unwind" Scrapbook Layout by Louise

Hi Crafters


Here is a new layout to share
"Relax & Unwind"


The Relax & Unwind chipboard was the inspiration for this page.

I've coated it in black ink - Simple!


I chose some photos of my boys on the first trip to the movies - A great way to relax and unwind.

I've also used Nested Circles again treated with black ink.


I've kept this page nice and simple, with some machine stitching, black ink and some pops of red - to match with the photos.

Thanks for visiting.
Happy Scrapping. 

Wednesday, February 22, 2017

"Baby Love" Scrapbook Layout by Louise

Hi Crafters

Louise with you today to share a new layout.
"Baby Love"


This is another 9x12 layout and I'm really enjoying the results of challenging my creativity.


I started with white card and prepped it with white gesso.

Then I used a stencil and texture paste before using Colour Blast shimmer dust in "Sunflower" with lots and lots of water - then set with the heat gun.


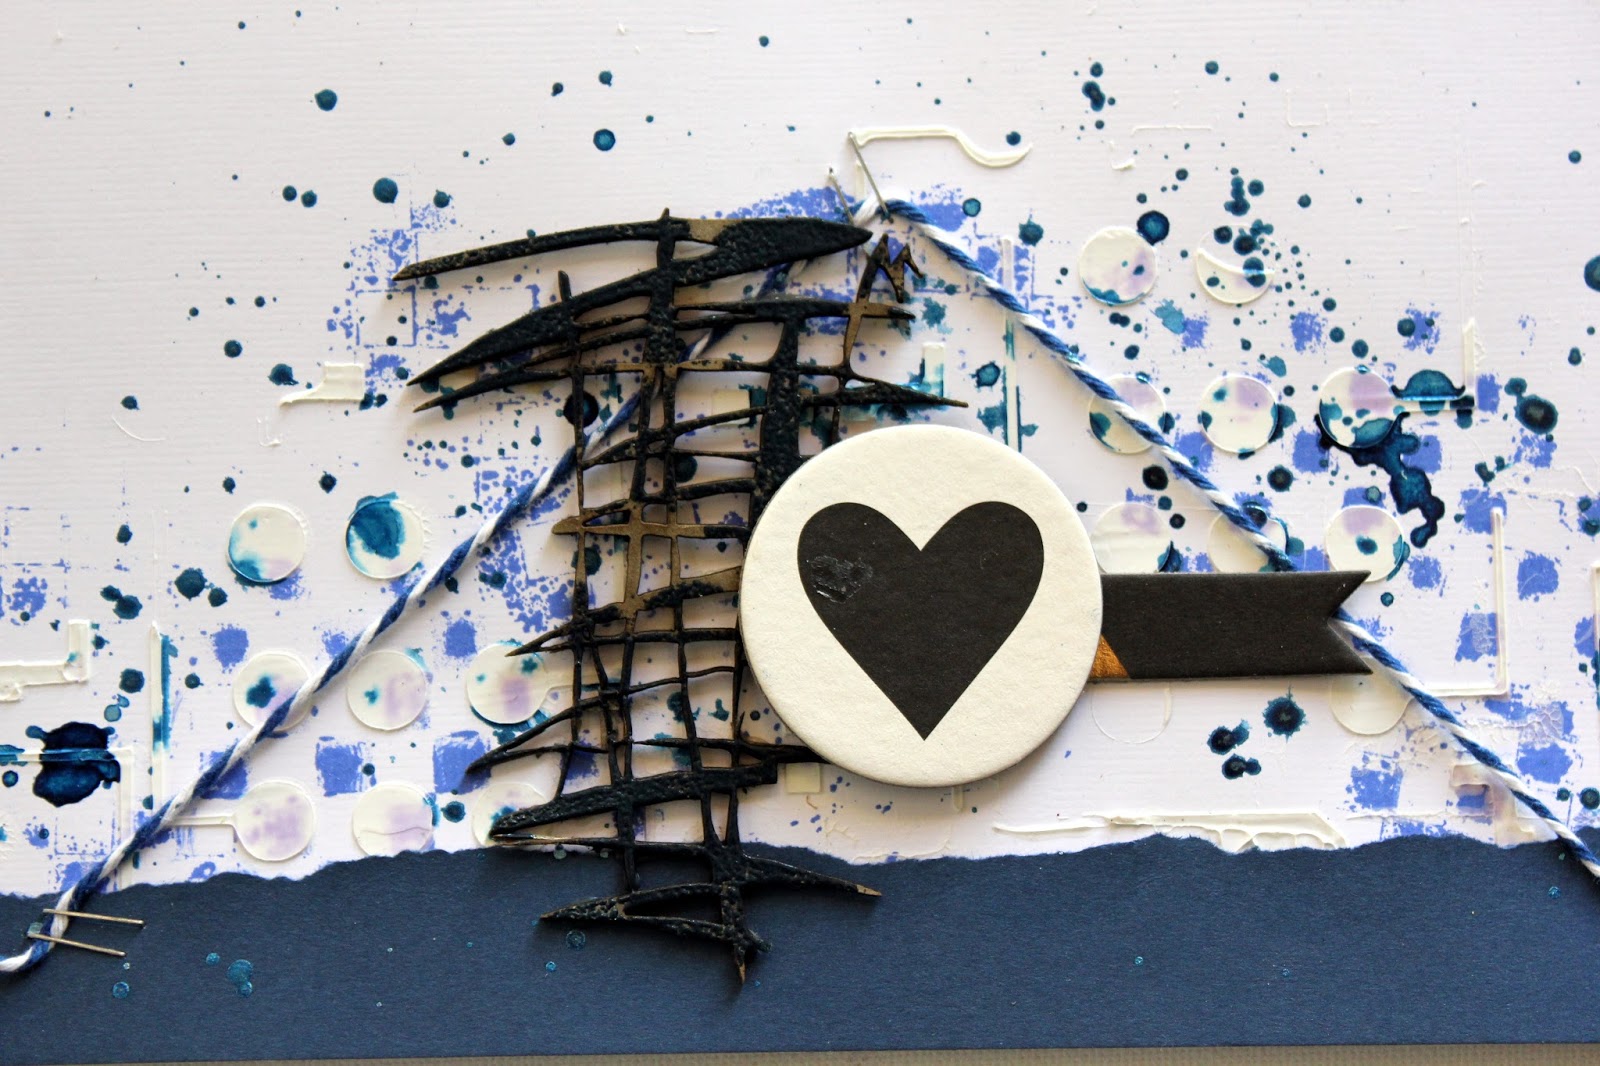
Chipboard on this page is the "Scribbly circle texture strip"
simply treated with black ink.


Thanks for visiting.
Happy Scrapping. 

Wednesday, February 8, 2017

"# Funny" scrapbook layout by Louise

Hi Scrap Friends

Louise with you today to share a new layout 
"#Funny"


I've discovered a new love for monochrome layouts.
I saw this paper and knew I wanted to create a yellow based layout


I created my background with acrylic paint, then added paste through the 
Some stamping and ink splatters to finish.


Lots of layers of different papers + the Mimi Doily 13 
has a coat of plane gesso and then was coloured and smudged with Tim Holtz Distress Crayon.

Love this one!

Thanks for visiting.
Happy Scrapping. 

Wednesday, December 21, 2016

"Hello Happy Days" monochrome layout by Louise

Hi Scrap Friends

Louise with you today.

I'm sharing a monochrome + colour layout with you today. 

My layout "Hello Happy Days"


 I started this project with a completely different idea in mind, but love how this one turned out.


I've used
Squiggle Set of 2
treated roughly with navy blue embossing powder.


I've also created another process video as part of m 12 Days of Christmas YouTube project.


Thanks for visiting.
Happy Scrapping. 

Thursday, February 4, 2016

You Are My Happy


Hi again! 

Today I'm sharing a layout using the perfectly appropriate You Are My Happy scraplet. It was coloured with Derivan Matisse Red ink - this ink is freaking fabulous, it's permanent, vibrant, and it doesn't reactivate if you were to add another colour on top! (tutorial for this coming up soon). After the ink dried, I outlined the chippy with a white gel pen to make it pop. 

This layout was inspired by a sketch over at Sketchy Boards Challenge, using the Hello My Name Is collection by Teresa Collins with blue cardstock.


This scraplet is perfect, he really IS my happy! And look how lovely and bright the red is!


And top it off with a button cluster!


***

Before I go, I'd like to share this layout (also inspired by a sketch at Sketchy Boards Challenge). The Cogs on the bottom left were inked with Pumpkin and Olive Staz On inks, the Cogs on the top left were wrapped in Washi tape to give a funky effect. Both were outlined with a white gel pen.


I hope you like them! And as always, keep calm and craft on!


Tuesday, January 26, 2016

Happy Australia Day and woohoo, Stencils are back!

Hi, Deb here on the blog today. 
Well, what better way to celebrate Australia Day than with a trip up the river, camping, fishing and if the weather is suitable, some toasted marshmallows! We're lucky, we don't have to go far to the mighty Murray River so we try to do it as much as possible. 

My share today is from a little while ago and marginally cooler weather. After a day of gathering wood, fishing, cooking, eating and more fishing, some yummy, gooey, toasted marshmallows are the go. The title Happy Campers really says it all. 

I have used one of A2Z Scraplets stencils which have been released on the website. These are made of a strong plastic and can be used over and over and over ....... and over again. It has simply been misted to give some visual texture to the page. Also symbolizes the condition of some of the marshmallows - burnt! 


Here's a close up of the title. Colored red using chalk ink and then outlined with black permanent marker. 

And a little extra bit of chipboard embellishment with the @camping word. 


Materials used:
Bella papers
Chalkboard Mist
Chalk Ink
Permanent Marker
Flair

My next share is a page that all parents will relate to. Back to school! Not long to go and all our little treasures will be back in those classrooms, noses down, working their little butts off .......... after they have caught up with all their friends of course. 

I love how this frame came up. I coloured it with a black permanent marker leaving the engraved areas for colouring with gel pens. 

If you enjoy the latest craze - colouring - then give it a go on your chipboard. We are introducing a white range for this very reason. (this frame was regular raw chipboard)


Some photos of the details


A close up showing the pen colouring. 


Materials used:
Washi tape
Flair
Thread 
Gel Pen

Until next time
Happy Scrapping 
Deb 


Sunday, January 18, 2015

School time is nearly here again.

Hi, Deb with you today. It's that time again, the children are getting ready to head back to school in the next couple of weeks. The booklists are getting picked up and sorted, the uniform checked for size, shoes ..... do they still fit??? How much do these children grow over the holidays?! My family is a real mix of ages, one is getting ready for senior high school, the other is about to enter his senior years of primary school and then we start on the grandchildren! Yes, two are going back to primary school, one is starting her first year and others are off to kinder or preschool. 

As you can imagine, there is never a shortage of scrapbooking material! This layout goes back a couple of years when one of the grandchildren started school. It was nice to do a school photo without yellow!


I have used the ABC123 title for this page, altering it with a simple technique of inking. In this instance I have used Encore Metallic Ink in blue. The result is a stunning and soft metallic finish.


I also had a play with some cabinet making timber veneer. This is thin and delicate making a nice elegant embellishment. What do you think? Would you like to see them on the shelves? 


These timber slivers were cut in 2 different colors and here I've used a light journal piece to record the basic details of the photo.


Materials used: 
A2Z Scraplets
G45 Papers
Jenny Bowlin Bingo Card
Little Birdie Flowers
Little Birdie Burlap doily
Glitz Large Rhinestone flair
Kaiser Droplet

Until Next time
Happy Scrapping
Deb


Sunday, January 4, 2015

Feeding the ducks ....

down at the 'Ducky Park'.

Hi, Deb with you again today. Not long ago we had our son and grandson visit. The children have always enjoyed one of our local parks on the river and the grandchildren are no different. This young man, though, thought he should have the bread to eat and not the ducks!


If you like the glossy look on your chipboards, another finish to use is embossing powder. I have inked with pigment ink and then embossed using the same color powder. This gives a lovely solid color. To get the super high gloss on this one I have sprinkled it liberally with more powder after heating and melting the previous layer. You can build it up to the thickness you want.


Materials used:
Cardstock
A2Z Scraplets Chipboard
Kaisercraft Papers
Pigment Ink
Zing Embossing Powder
Embroidery Floss

I was on a bit of a circle theme this day, as well as stitching. It was Moo's birthday her Auntie made her a cake.


I used something I don't use much for the finish on this title - paper! This is much easier with a simpler design unless you cheat and cut it to the same pattern at the title using the laser. The same effect can be achieved by tracing the title onto the paper and cutting out. Make sure you do this on the back and reverse the wording. That way your tracing lines don't need to be erased. Once cut out, glue to the chipboard and allow to dry. Using a sharp knife and working from the back, carefully cut around the edges to trim them. Alternatively, you can apply glue to the chipboard front, stick it onto the paper back and wait until dry. Cut carefully around the chipboard.


Materials used:
Basic Grey Paper
Floss
Stitching template
Fine line pen

Until next time,
Happy Scrapping,
Deb


Sunday, November 30, 2014

Where has the year gone???

Hi Deb with you again today. We're on the run into Christmas and things are getting very busy but I've managed to squeezed in a couple of pages to share. 

I've pulled out an older photo and new one for today's post. The first one is a photo of my son aged about 3 or 4. Yes, he was and is all boy, covered in mud or dirt most days. He did enjoy a good natter to people on the phone and can still talk his way out of anything that comes his way! 

I have used a piece of the Nuts and Bolts frame as a corner on the page. 


 To embellish or decorate it I have simply used inks. Using a combination of two to give it some interest and a bit of a rusty look.


Materials used:
Cosmo Cricket paper collection
A2Z Scraplets Nuts and Bolts Frame
Maya Road Wire @
Magic Scraps Flair

 The next page is more about getting right back to basics. With time being tight but still having the need to scrap the memories of our photos, particularly the simple moments that crop up, I have done some very, very simple pages. Documenting the moments being the focus with them. Journalling should be somewhere on your page and I often hide it. I'm not always comfortable with my own handwriting but I do it. I think it's important to pass that on too as it's part of our own personality. How many remember their grandparents writing? One of mine had her own very unique, albeit messy style, but it was her and I can still see it to this day.


 The chipboard is a Custom Order and describes this photo perfectly - Bed Hog! I have painted it and then given it liberal sprays of glimmermist. This has resulted in a watermarked look.


Materials used:
Bella Papers
A2Z Scraplets Custom order Chipboard
Martha Stewart Punch
Bazzill cardstock
Tattered Angels Glimmermist

Until next time,
Happy Scrapping.

Deb


Sunday, October 26, 2014

Scrapbooking your heritage

Hi Deb here with you again. Today I'm sharing a couple of pages, the first being a heritage style. I am fortunate enough to have know the past generations of my family and have great memories of them. This first page is a great aunt who lived to a great age of 108! That meant I had her in my life for 40 years, a great feat in itself.


 I used the set of Clock Hands to make a corner, inking them with a pink pigment ink and adding a touch of metallic pigment ink as highlights. This gave it an aged look.


 I used the same technique on the Steampunk Heart which I felt suited the style and era of the photo.

Materials used: 
Graphic45 papers, stickers and embellishments
Reminisce Flowers
Epoxy dome
Inks


My second page is a little bit newer photo - my two youngest at the football in Melbourne. This is a very simple layout but a great memory from a wonderful time in life.


On this page I used the title Footy Fan and coloured it with chalks. Finishing it off with an outline. You will need to spray a fixative on your chalked pieces to avoid them rubbing off if handled.


I also used one of the football players from the set of Footballers. Again colouring it with chalks and a pen outline.


Materials used:
White, Black and Blue Cardstock
Jenny Bowlin Bingo Card
Maya Road Metal Clip
Smash Clip
Small Epoxy dome

Until Next time, 
Happy Scrapping
Deb