Showing posts with label twine. Show all posts

Wednesday, May 9, 2018

"Shine Bright" Scrapbook layout by Louise

Hi Crafters


Happy Wednesday. I hope this bright, fun, cheeky layout brightens your day.

"Shine Bright"


If anyone has seen my creative mojo, send it back!!!!
I am creating, but it just feels very difficult at the moment.

So today I'm sharing this page as it was really one that I just tried not to think too hard about.

I started with background papers, added some washi and water colour.


Photo was next and then the Starburst Frames.
For the one behind the photo, I gave it a simple coat of black gesso.

The star in the cluster, got a coating of Colour Blast Embossing powder in "Singin the Blues"


Mostly I embellished from my stash, but the final addition is the twine!

Hope you enjoyed.

Thanks for visiting.
Happy Scrapping. 

Wednesday, September 20, 2017

"Funny Boy" Scrapbook Layout by Louise

Hi Scrap Friends


Today's share is a scrapbook page "Funny Boy"


I actually started this layout months ago and pushed it to the side for some other projects.
During a recent clean up, I found it and decided to finish it off.

I've used firstly the Old picket & bird fence
treated with "Steel" embossing powder.

The bird and Funny Boy word set were treated with "Sunshine" embossing powder.


Master C has a real dislike of birds but was able to hold a chick at our local show. 
I just love the look on his face!


The background features Colour Blast paste in "Deep Water" and some simple black splatters.
To finish this page, I've added flowers, twine and stickers.

Thanks for visiting.
Happy Scrapping. 

Wednesday, December 21, 2016

"Hello Happy Days" monochrome layout by Louise

Hi Scrap Friends

Louise with you today.

I'm sharing a monochrome + colour layout with you today. 

My layout "Hello Happy Days"


 I started this project with a completely different idea in mind, but love how this one turned out.


I've used
Squiggle Set of 2
treated roughly with navy blue embossing powder.


I've also created another process video as part of m 12 Days of Christmas YouTube project.


Thanks for visiting.
Happy Scrapping. 

Wednesday, October 19, 2016

"Love" scrapbook layout + chipboard technique by Louise

Hi Scrap Friends

Louise with you today.
I've got a layout to share + one of my favourite chipboard techniques.

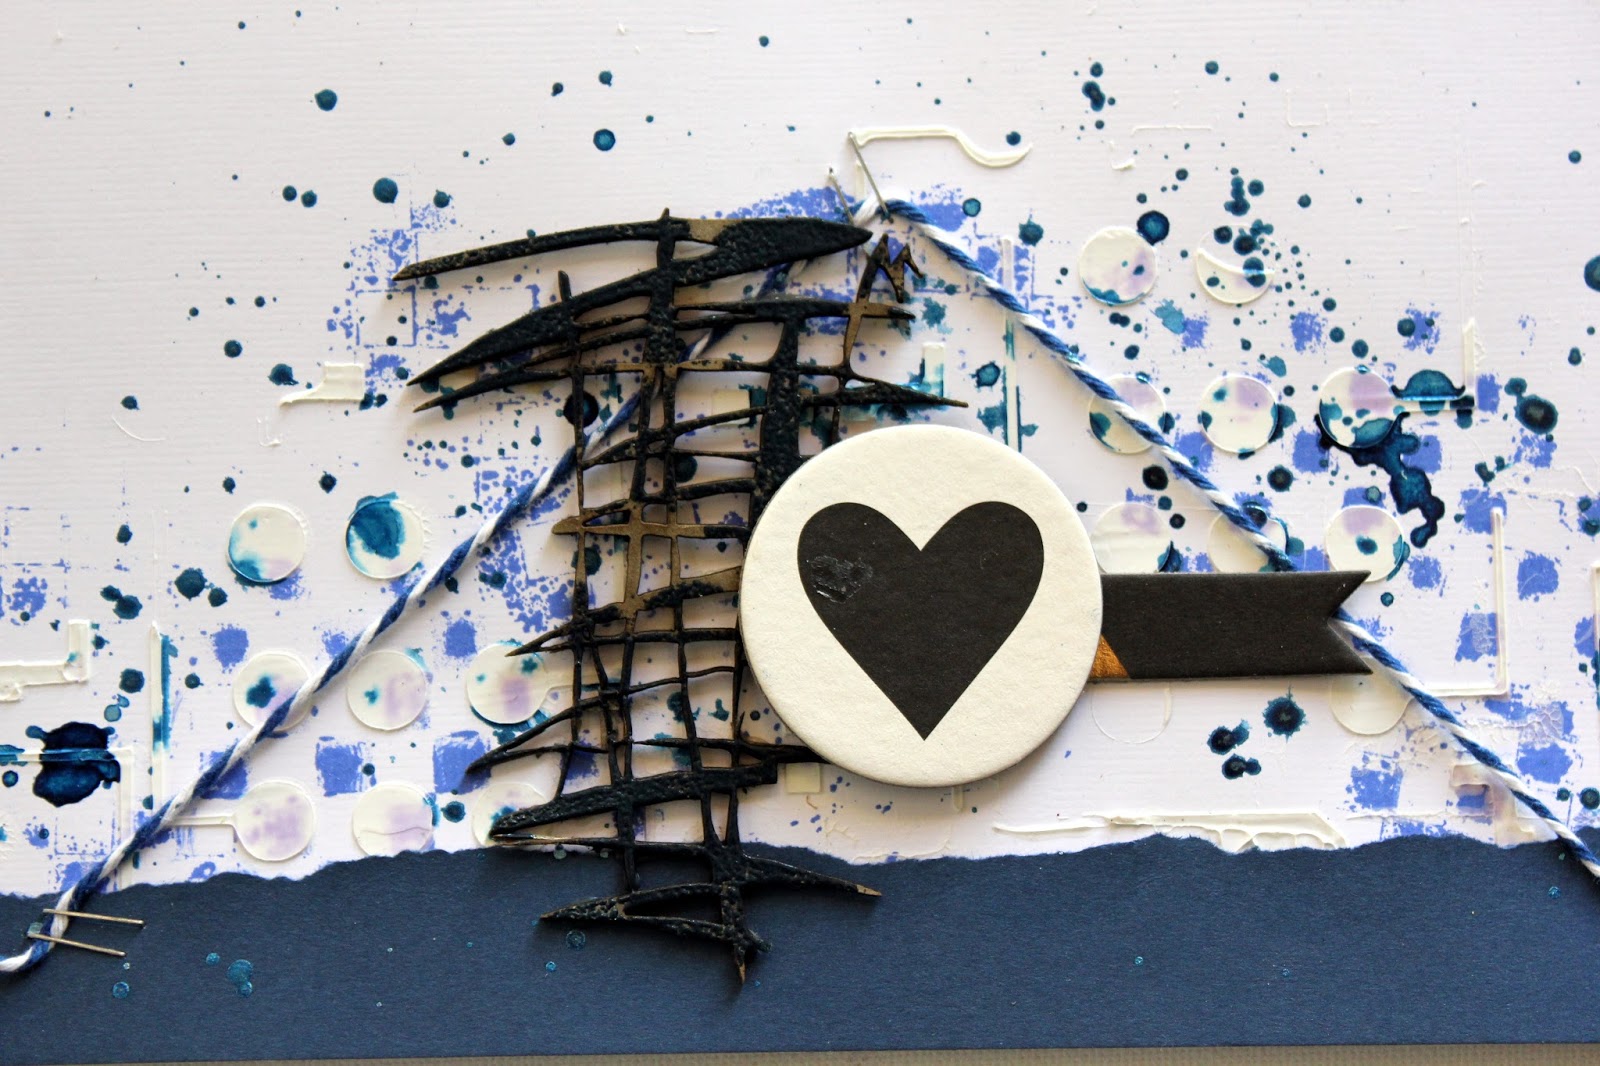
My page "Love"


For the "Love" chipboard
I've treated it as follows:

Such a fun technique which can easily be applied to a variety of chipboard products.


My layout also includes lots of other textural elements - twine, straws, tags, texture paste all coming together with a green colour theme.


Thanks for visiting.
Happy Scrapping. 


Tuesday, August 19, 2014

13 A2Z Scraplet techniques.....

Hi everyone, its Kerry here today to share with you some techniques to use on your A2Z scraplets. Do you have a pile of them and just dont know what to do with them or want to do something a bit different but dont know what to do??

Well read on and i hope to give you some inspiration to use up your A2Z Scraplets.

There is so much you can do with them, i done all these last week and even as i was taking their photos today i thought of another that i had to quickly do, and as im writing this im thinking of another i wish i had put in.......but will maybe do that one on my next post.

One of the first techniques to show you is to emboss them. Dry emboss anyway. Do you have a cuttlebug or something similiar like me sitting there collecting dust?? You can put your scraplets through it. Now you may need to use larger scraplet pieces for this and use a folder with a small pattern but i loved how it came out.
Imagine a swipe of ink or colour over this...


I really love this technique as you get two uses from the one piece. On some cardstock spray with your favouite spray over your scraplet...Your scraplet now has instant colour...


take it away and you have a gorgeous background starting on your page.....


One of the easiest and quickest ways i use scraplets is to give them a coat of paint. Using some paint dabbers make it so easy and no brush marks....


You can colour in your scraplets. I used a Faber Castell pitt pen....you could also use copic markers..


I love this quick and easy way as well. Swipe some creamy shimmery ink over them......


For this star i inked as well but gave it glossy finish with some dimensional magic......


I painted this star and when the paint dried i stamped over it...


Ahhhh some crackle paint. A bit longer technique because you have to wait for this to dry. But is very effective. I rubbed a bit of whit ink over it as well to give it a weathered look and make the cracks stand out...


Im so in love with this embossing powder. Just stamp your scraplet with versamark ink sprinkle some powder add heat and voila!!!


This was one of the first techniques i used when i started scrapping many moons ago. I covered it in paper. I covered the piece with glue stuck the paper on, cut the edges with a knife and inked the edges. I added a button to give it something extra.


One of my most used and fav is to use it as it is. They are really great on there own and stand out easily. I am currently working on this layout.


And one last one. Wrap some twine, wool or cotten around your scraplet......


Which one was your fav? Which one do you use the most?

Now i have all these pieces to use!!!

Thanks for stopping by and reading
Kerry xx


Saturday, May 31, 2014

Gotta love holidays!

We're back from holidays and settling back into the usual work routines. While the memories are still fresh I started to do some of the photos that we took. Between three cameras, two phones and two ipods between us, there are a few!

Again, Thailand was a beautiful place for a holiday and the kids enjoyed many new and exciting experiences. No doubt you'll see many pages coming that will share our time there. 

This page was a very simple one using Kaisercraft papers, stamps and die cuts plus the addition of some holiday inspired Scraplets. The Elephant Trekking scraplet can be found on our website now.


This next page is an older photo of our son and his 'tatt'. I've used an older range of paper from Basic Grey and some of the newer arrow and tattoo flourish scraplets.


To give it a bit of a rugged look I roughly 'splodged' paint on the arrows and stapled them to the page.


The circle of twine with another arrow attached over it, takes the focus to the main picture.


A close up of the tattoo flourish.


While thinking about holidays, I put a super simple page together for a challenge on using pockets. The photo strip is a long pocket and holds the leaflet and memories of our stay in this little cottage.


Elephant Trekking scraplet


 Our Holiday


Arrows


Until next time, happy scrapping
*Deb*