Friday, June 26, 2015

Hello...

Last day of school and the start of school holidays.....a time for the girls to sleep in and relax at home.
Not much else will be happening as I have to still work.

Today I have a couple of layouts to share....

# Pic of the Day


Texture Pieces Set
Hashtag Photo Words
Camera Journal Set

Here is a couple of close ups:


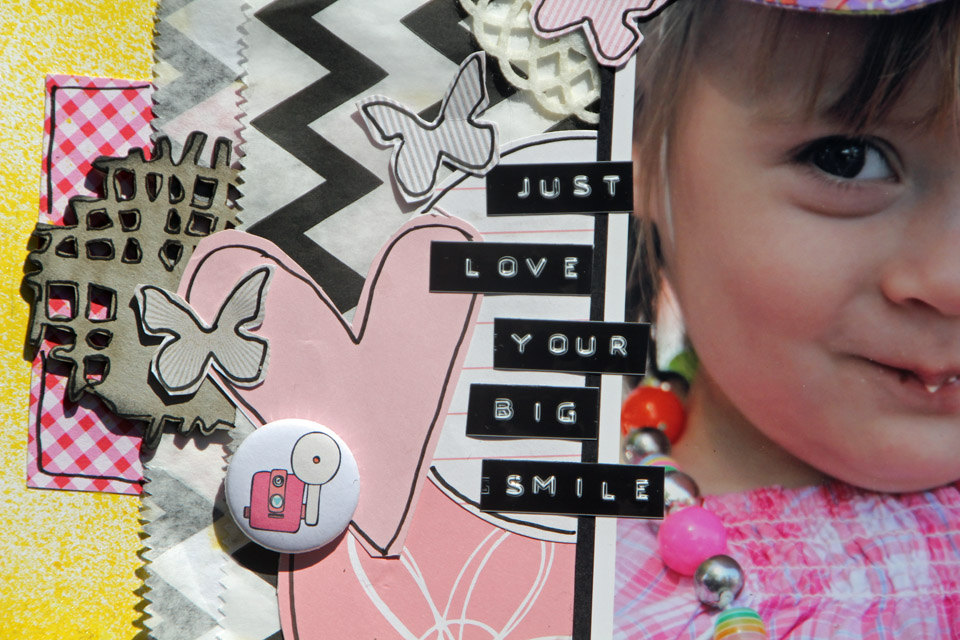
As you can see, I love leaving the chipboard raw when you have a bright layout...it tends not to compete if you leave this way.
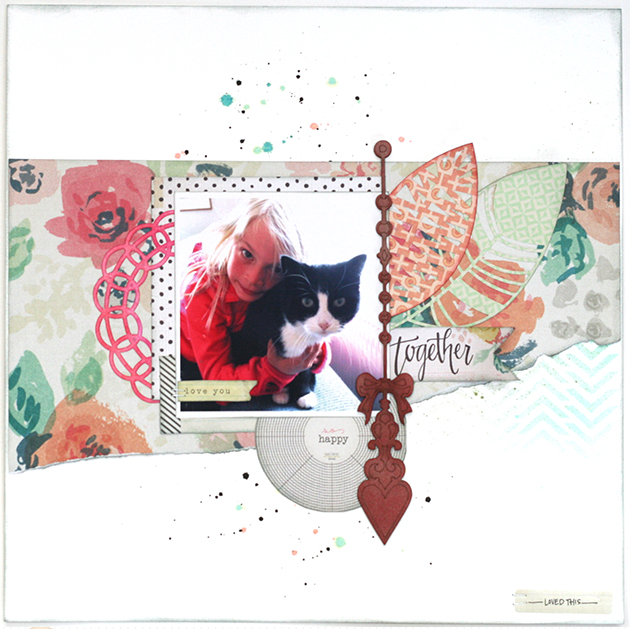
Sweet Happy Moments


Xxxx Word Title

Here is a close up:


I have used a glitter pink gel pen which is great and adsorbs well into the chipboard.

Thanks for stopping by today. Hope you all enjoy the school holidays and hopefully you have some time off unlike me...

Thursday, June 25, 2015

Adorable

Hi all, Donna here again with another share.
This title, 'adorable' perfectly sums up this photo
of our new puppy.
I have used the amazing Stampendous embossing enamel again for this
(this is the copper colour) available From Scrapping Life 
 I have used some new Kaisercraft papers (Furry friends range)
added some hession peices for texture and some Scrappers Garden flowers
I have also used this flourish (31) which I have embossed also.
 and finished it off with some Studio Calico chipboard stars (these come in a range of colours also)
These can also be found at Scrapping Life
I hope I have inspired you today
Thanks for stopping by


Wednesday, June 24, 2015

I love you by Petra

I took this photo of my three sweet kids at the last day of school before summer break - love it!
I wanted the page to have a look of summer and be romantic and I think I managed to get that look.


I stamped o the background and when the ink was dry I just added some distress ink onto not really caring to get inside the lines.


I also stamped with a woodgrain stamp on the chipboard after first covering them with gesso. When the ink was dry I added distress ink in two different colors.

I embellished with flowers, leaves painted with gesso and a metal dragon fly.


I also added distress inkon the bird design on the background paper from FabScraps to get the design to go together.


Supply:
FabScraps C71 001, 005, 006, 007, 008 from Elegant Chic collection
Metal dragonfly from FAbScraps
Distress ink
Flowers and leaves
Stamps made using the Teresa Collins Stampmaker from Photocentric
Chipboard from A2ZScraplets

A2ZScraplets used:
I love you border
Flourish 06
Flourish 14


Monday, June 22, 2015

Awesome

Good morning!  Another Monday has rolled around soooo fast.  The weeks are flying by and I'm afraid it will be Christmas before we know it.  In fact when scrolling through Facebook the other day someone had a post up stating it was only ?? Fridays until Christmas!!  What?  No way!  I don't know what happened to the first half of this year….
Anyway, I am sharing with you today a layout of my DD using a photo taken many years ago of her enjoying the winter sun and her favourite thing to do at that time - painting!  She still enjoys painting, but being in year 12 doesn't allow her a great deal of time to indulge in it as much.


Some close ups...


The A2Z Scraplet title I have used - "Awesome" has simply been painted with Shimmerz and then I dabbed some Kindyglitz over top to bling it up a bit.


I really was hoping to have had a bit more time for creating, but time just doesn't allow it for me at the moment.  Fingers crossed that the back end of the year may afford me a little more time for creating. (don't know if I like my chances!)

Until next time, happy crafting!
Yvette x

Saturday, June 20, 2015

Best friends since Kindergarten

Hi everyone, Kerry here today to share some recent layouts with you. I have painted the Kindergarten A2Z scraplet.
 
 
In my favourite colour yellow...

 
Last year Hayden had his birthday at laser tag. So this title scraplet was just perfect.

 
Of course painted in yellow again :)

 
How is your weekend going? I hope you are enjoying it and getting lots of scrapping time and spending with the people that you love.
Thanks for reading.


Thursday, June 18, 2015

Reverse Canvas FUN!


Hi there! Have you tried creating a Reverse Canvas yet?? If not, what's stopping you? They're super easy and look amazing! Here is one I created using an oval canvas by Mont Marte, the Fly Free collection by Kaisercraft and the A2Z Scraplet Doodlet 29.

First up I punched out a bunch of hexagons with my Fiskars Hexagon punch and outlined them with a gold gel pen. They were then glued down onto the reverse of the canvas. The photo was matted, outlined and mounted on foam tape to give dimension.

The A2Z Scraplet Doodlet 29 was coated with Stampendous Aged Gold embossing enamel. I didn't have any embossing ink so I just used a glue stick to adhere the embossing enamel before melting it with the heat gun. I'm not sure if it changed the effect as I've only used it with glue, but I LOVE it! It's so chunky and bold! Check out the range of embossing powders and enamels from A2Z Scraplets HERE.


I added a strip of patterned paper around the inside edge, and Kaisercraft Ribbon Roses around the frame. Some very cutesy flowers from Scrapping Life were clustered over the corner of the Scraplet to finish. 


What did I tell you? Too easy! I sure hope this has inspired you to create your very own reverse canvas. OH and a little TIP... If you want to ensure dust doesn't settle on your masterpiece, glue a piece of acetate over the frame before adding your ribbon roses.

Until next time, keep calm and craft on!
Karyn :)


Friday, June 12, 2015

Hello.....

Well its that busy time of the year....the girls having exams and heaps of assignments before the end of term 2.
Very stressful but at the same time rewarding if they pass and get great marks.

Today I have a couple of shares for you...

Today I Will Play


Love Hugs xoxox Frames

I have just cut out the "love"word from the frame to add to my layout.

Here is a close ups:


Love


Rose Thorny Wreath Frame

Just loved the raw chipboard and matched perfectly with the browns on my layout.

Here is a close up:


Hope I have inspired you to go out and scrap today.

Until next time...

Thursday, June 11, 2015

You are my Happy

Hi all, Donna here with another share for you.
Today I have used 2 A2Z Scraplets
I have used the 'You are my Happy' title
 Using chipboard titles is so quick and easy. It also saves
you time in trying to decide on the name for you page.
I have also used the 'scribble circle boy' word
just inked in black as well, and I added the 'love this' in stickers.
 I have once again just coloured the title with black ink
and turquoise Viva Decor Inka Gold
 I have also added a Project life plain border overlay
on top of the photo.
You can find a range of these overlays here
I hope you are inspired by these gorgeous titles.


Wednesday, June 10, 2015

so happy together .:. by Petra

She loves the cat, perhaps a tiny bit more than the cat loves her....


This time I just colored the scraplet using some distress ink.


Supply:
Crate Paper Maggie Holmes Confetti - 12x12 paper pad
Crate Paper Maggie Holmes Confetti - 6x6 paper pad
Crate Paper Maggie Holmes Confetti - Accent stickers
Pretty Crafty Stuff - feathers
Pretty Crafty Stuff - shine
A2Z Scraplets - Dingle Dangles Engraved shapes 


Monday, June 8, 2015

Sweet dreams

Hello, Yvette with you today sharing a layout of my cutie sleeping sweetly with his favourite cuddle toy, Sammy - taken many years ago.  Wonder what he's dreaming about??


The title Sweet Dreams was coated with gesso, then swiped over with some Lindy's Stamp Gang mists, and the cloud was covered with gel medium and then sprinkled with glitter and glitter flakes.


Some other close ups...


I'm still learning and trying to embrace more mixed media on my layouts and I know I still have a long way to go...but little by little right?!

Wishing you a wonderful week.
Until next time, happy crafting,
Yvette x