Friday, October 12, 2018

Always be you by Anne

with my take on this months sketch challenge.
You can enter the challenge through the link HERE.


My layout was first made by preparing the background which was made by stenciling with Nuvo paste.


I then prepared my chipboard by painting first in gesso, and then applying pink gelato in two tones. The word You had glue applied then dipped in microbeads.


I then added my photo and embellishments including flowers, die cuts, flair, half pearls and bakers twine and the layout was complete!


Cheers!


Tuesday, October 9, 2018

Champagne Time


Happy Tuesday everyone
Tanya here to share another layout using more lovely chipboard. 


I love the font used for this chipboard title Champagne Time. On the title I have inked the 
top half of the word champagne using a blending sponge and brown ink. It kind of gives it an 
ombré kind of look. The bottom half of the word and the word time has just been left natural.

I have done a similar thing with the Small Intricate Clock. I have inked the edges with the 
brown ink and blending tool and left the centre of the clock the natural chipboard.


Monday, October 8, 2018

This Is What Awesome Looks Like by Brenda Caldow

Hello crafty friends and welcome to the A2Z Scraplets Blog, Brenda here with you today to share my latest page using three A2Z chippies. 
My page photos are of my youngest son Harley which were taken on a resent family day trip away. 


To create my title I have used a paint pen and coloured it with Slate Grey and then used a dark gray ink on the bottom half to give the two shades. This was all I did to create my title. 


For my torn mesh shape I coloured it with a Distress Marker - Hickory Smoke. This was all I did but I wanted it to stand out on top of the background I had created. 


The other chippie I used was from an arrow set of which I just used one of the arrows. 


For this chippie I firstly coloured it with athe Hickory Smoke Distress Marker. Once this is done I then used the glue stick to dab glue here and there on the arrow. I then sprinkled Tinby Designs _ Metallic Melts (Carbon) over the top and then tapped off the access. I then heated it with my heart gun. When using this method it creates a bubbly patchy type effect that you can see in the photos. It really adds a great texture to your chippie. 


I hope you have enjoyed popping in and seeing how I created my chippies and that I have been able to inspire you a little with my whole page. 
We would love to see you at our Facebook challenge page this month and maybe you will be our lucky winner.
Please keep scrolling down as the rest of the Design Team have some wonderful creations to share with you. I'm sure you will find loads of great ideas and techniques.
Happy Crafting xxx


Sunday, October 7, 2018

Amazing Scenery - Karen McLaughlin

Hiya - Karen with you today to show you my example for this month's challenge.  The challenge is to create a project using the sketch shown for your inspiration. These photos of lavender were taken in the UK last year.  Such a pretty place.  I have used 2 frames.  The rectangle frame is called Frame 06  and the oval shape frame is called Frame 107.  For my title I have used the words Amazing Scenery is taken from a set of 4 travel words.


Saturday, October 6, 2018

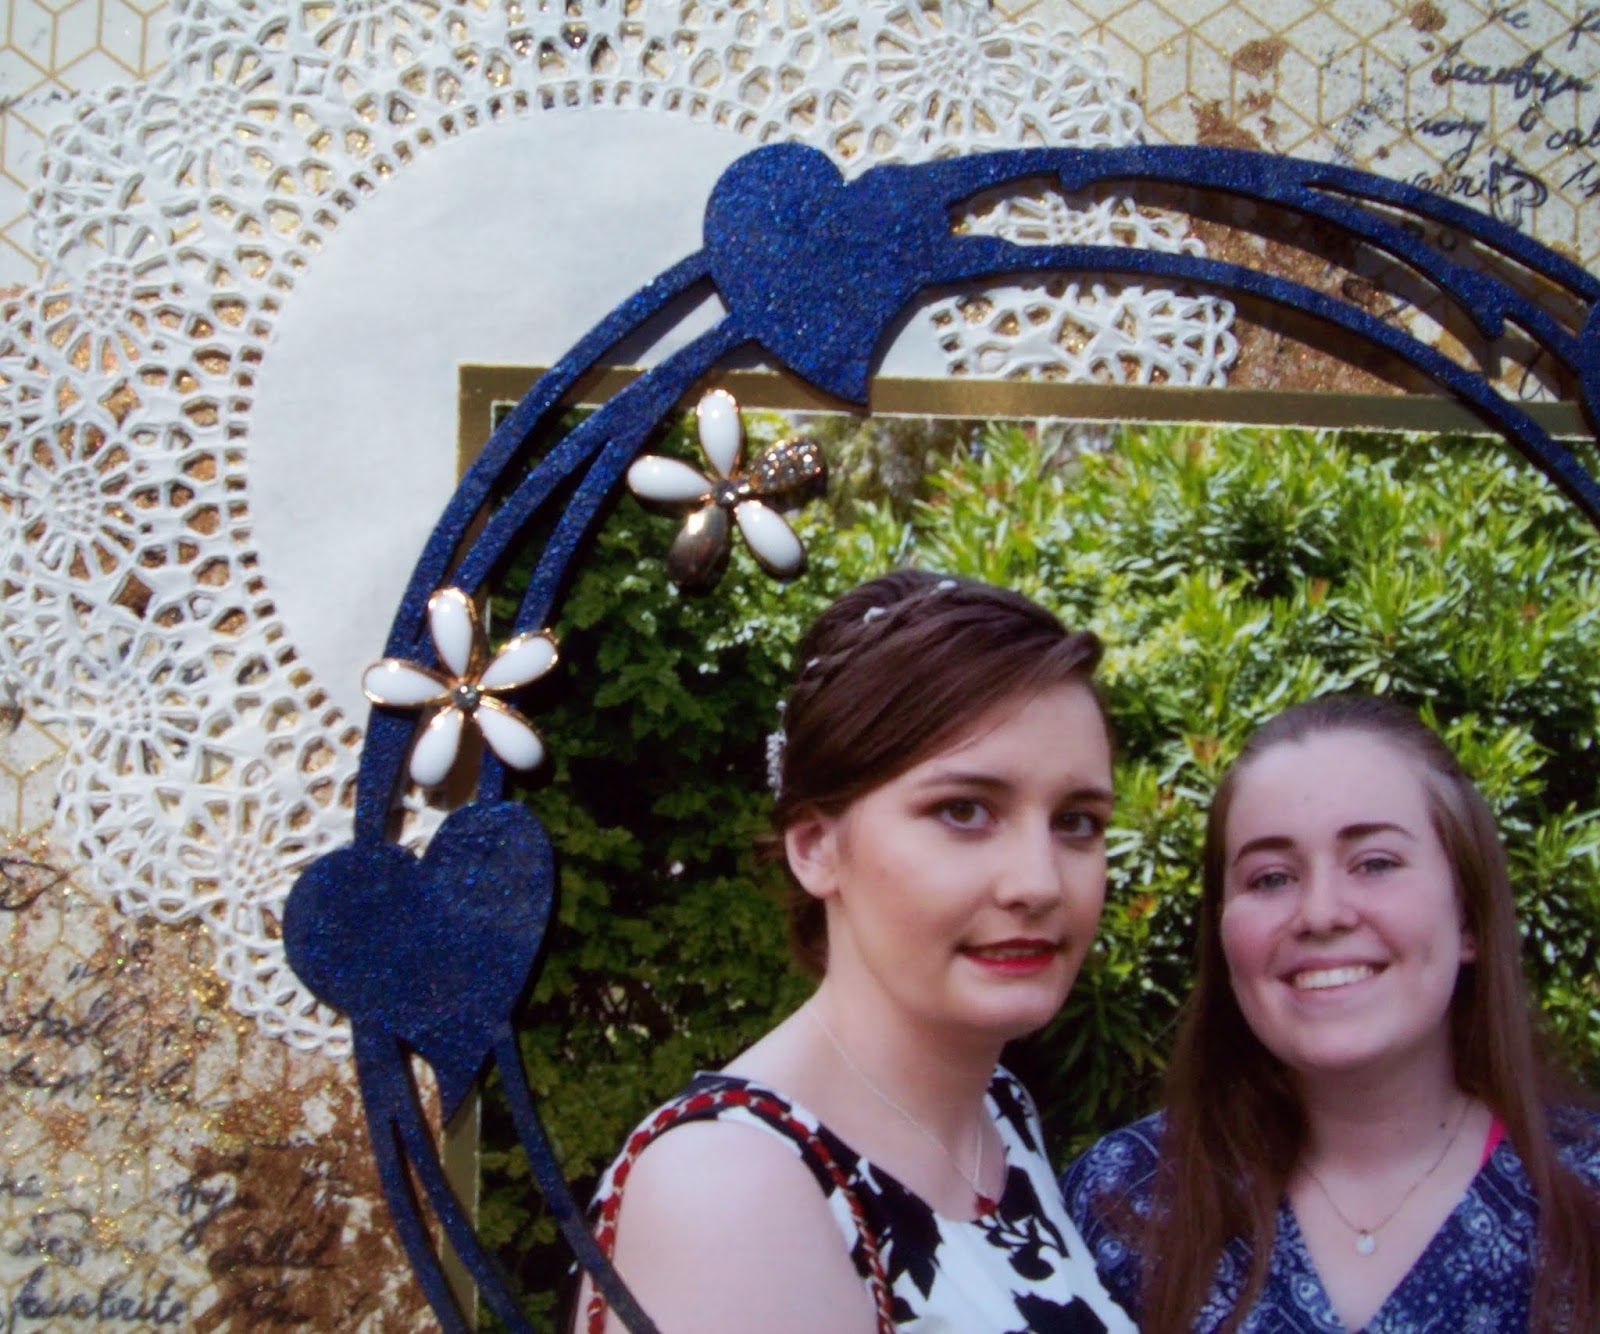
Moments together

Hello Everyone. As we enjoy the weekend I would like to share my take on the October moodboard. 

Moments together.


Here is another look at the moodboard; so elegant and beautiful - I love this one.


I have used the scribble circles and hearts frame painted with metallique midnight sky.


This is found in - FRAMES AND PAGE FRAMES - Scribble circles and hearts.


The title chipboard I have painted with metalliques ancient coin.


This can be found in - WORDS - Family/Friends or WORDS - Love/Affection/Sentiment


Thanks for stopping by. Happy Crafting.